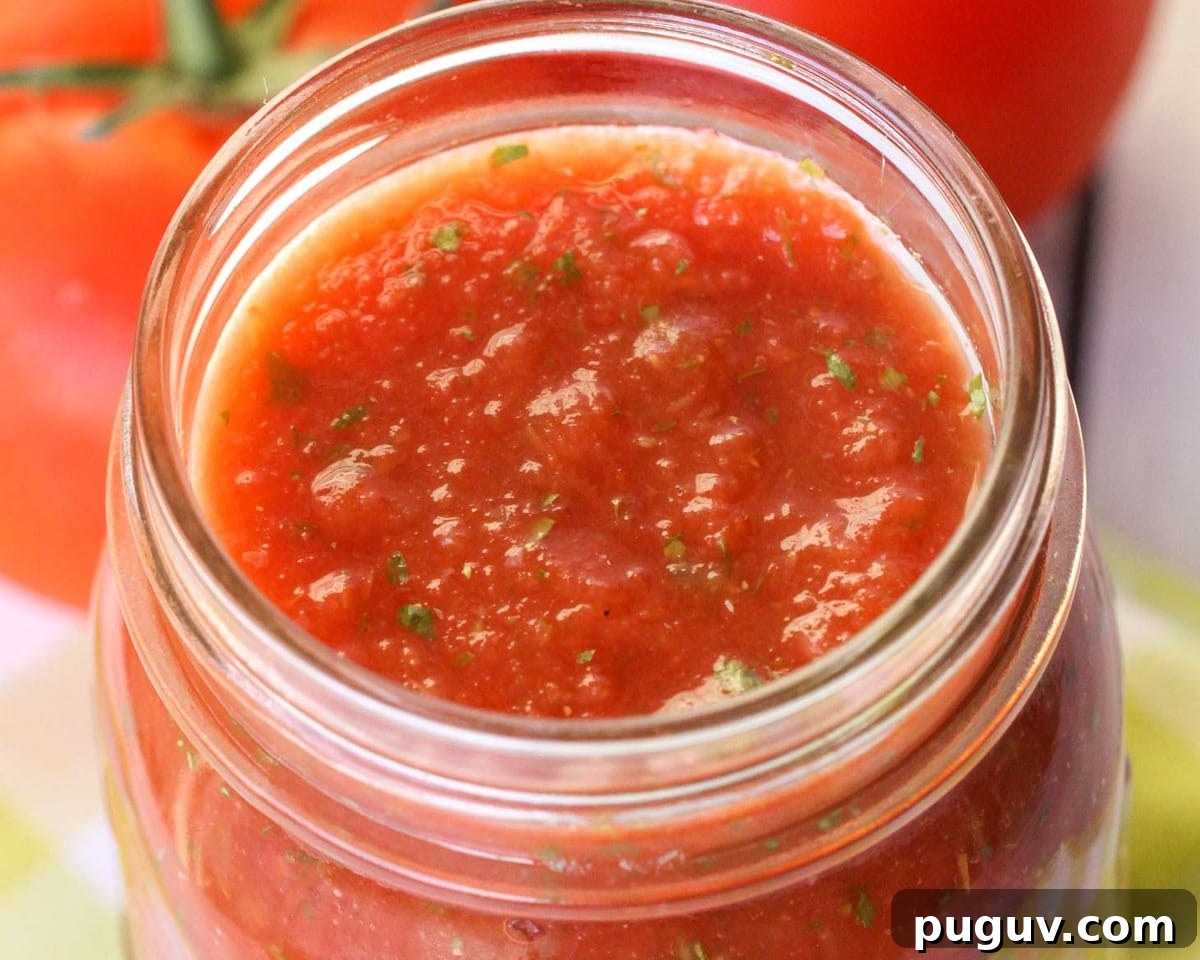
We love having homemade salsa ready at all times, so we preserve it by canning. Follow these clear steps to can salsa safely and keep delicious, ready-to-use salsa on hand whenever you want it.
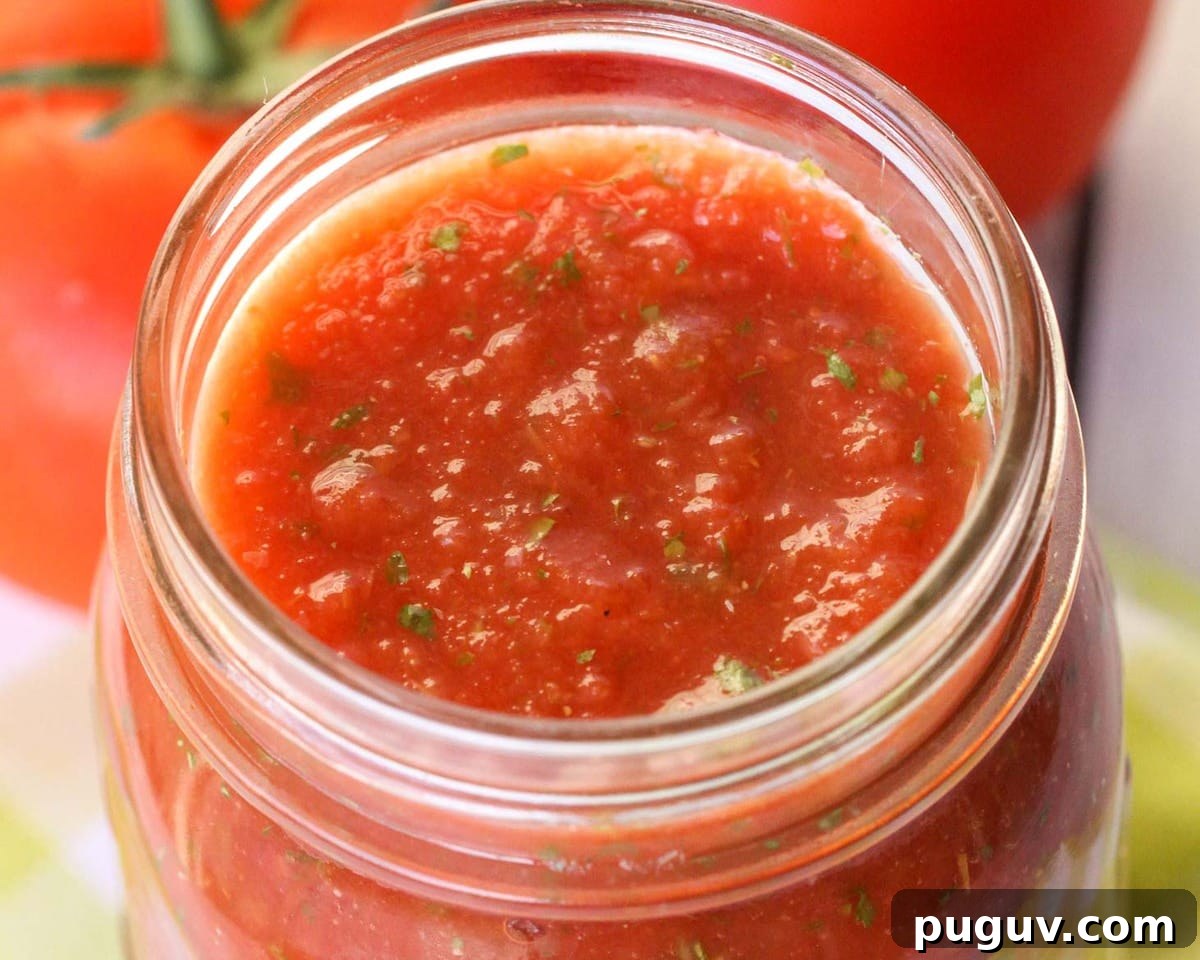
Best Homemade Salsa
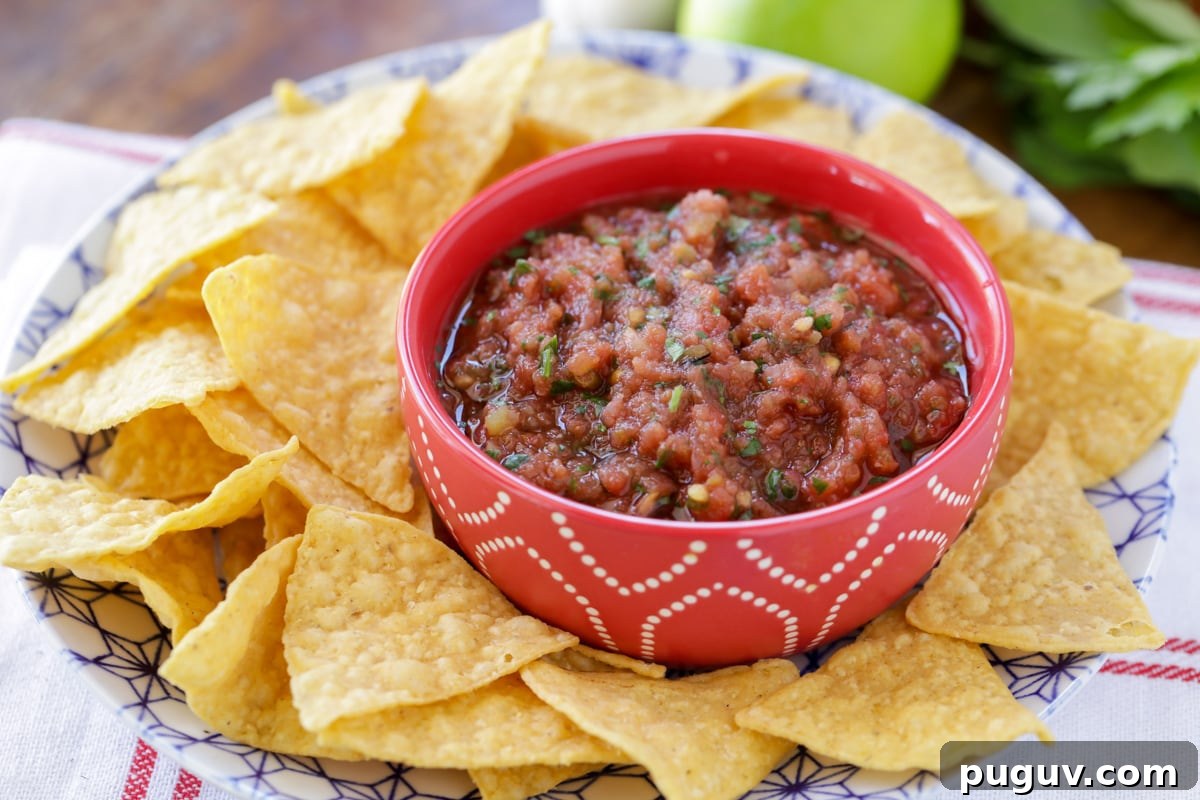
Homemade salsa brightens up so many dishes — use it with Mexican wontons, spoon it over chicken enchiladas, or enjoy it as a dip with queso blanco and tortilla chips. Canning your salsa means you’ll have that fresh, bright flavor available long after tomato season ends.
Properly canned salsa is convenient for quick meals, snacks, and entertaining. When you follow safe canning steps, you’ll preserve the vibrant flavors of fresh ingredients and ensure the salsa stores well for months.
Why We Love Canning Salsa:
- Preserve summer flavors. Fresh cilantro, onions, tomatoes, bell peppers, and jalapeños freeze in flavor when canned correctly — enjoy summer tastes year-round.
- Customizable and delicious. You can control heat, texture, and seasonings so every jar matches your family’s preferences.
- Simple and rewarding. With a few basic tools and a reliable recipe, canning salsa is straightforward and yields a shelf-ready product you’ll be proud of.
Table of Contents
- Best Homemade Salsa
- What to Know When Canning Salsa
- Supplies
- Supply Tips
- Method 1: Water Bath Canning
- Method 2: Pressure Canning
- Pressure canning
- More Like This
- Kitchen Tips
- Salsa Recipes
- Faqs
- How Long Does Canned Salsa Last After Opening it?
What to Know When Canning Salsa
Safety and acidity are the most important considerations when canning salsa. Use a tested recipe designed for canning, especially if you plan to use the water bath method. That method requires the salsa to be sufficiently acidic, which can be achieved by cooking the salsa or by adding an acidic ingredient such as vinegar or lemon/lime juice. Always follow recommended measurements and processing times to ensure safe preservation.
Supplies
- Mason jars — pint jars are convenient for salsa and easy to store.
- Water bath canner — essentially a large pot with a rack to keep jars elevated.
- Ladle — for transferring hot salsa into jars.
- Canning funnel — makes filling jars quick and tidy.
- Lifter — for safely removing hot jars from boiling water.
- Jar wrench — handy for loosening lids if needed.
- Headspace gauge — to measure the correct headspace between salsa and jar rim.
- Magnetic lid lifter — optional, but useful for handling lids without burns.
Supply Tips
- If you don’t have a water bath canner, you can use a large pot that allows jars to be fully submerged; just add a rack or folded towel in the bottom so jars don’t touch the pot directly.
- If you own a pressure canner, you can use it for salsa recipes developed specifically for pressure canning — pressure canners are typically used for low-acid foods, so follow a tested recipe.
- If gathering individual tools feels overwhelming, consider purchasing a basic canning kit that includes the essential items in one set.
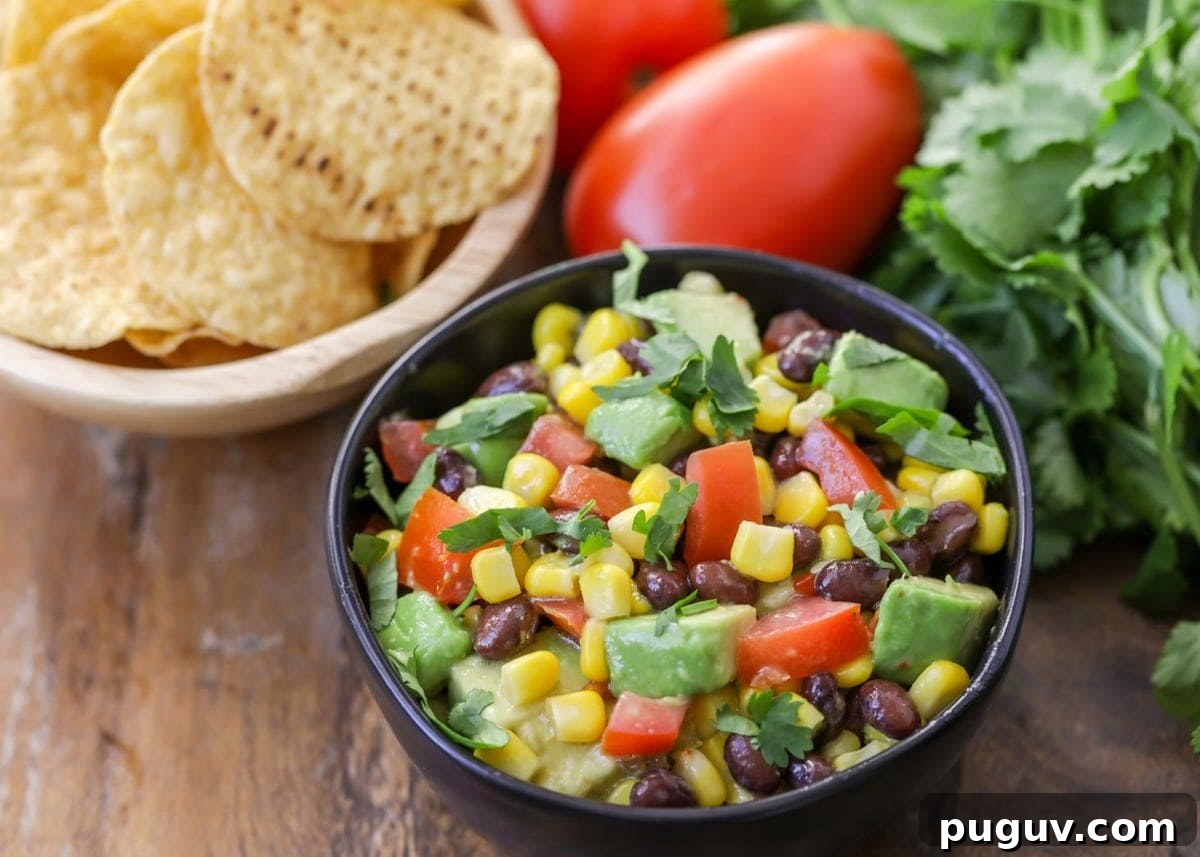
Method 1: Water Bath Canning
- Prep equipment. Wash jars, lids, and rings in hot, soapy water. Rinse well and set aside.
- Prepare salsa. Use a trusted canning recipe so acidity and processing times are correct.
- Sterilize jars. Place clean jars in a large pot of hot (not boiling) water. Heat gradually to a simmer and keep jars hot until ready to fill to reduce thermal shock.
- Sterilize lids. Keep lids warm in a separate pot of hot water until use; avoid boiling lids vigorously.
- Remove jars. Use a jar lifter to remove jars from the hot water and set them on a clean towel or heat-resistant surface.
- Fill. With a funnel and ladle, fill jars with hot salsa, leaving about ½ inch of headspace at the top.
- Remove air bubbles. Slide a non-metallic utensil down the jar edge to release trapped air bubbles.
- Wipe rims. Clean the jar rims with a damp cloth so lids seal properly.
- Apply lids and rings. Place warmed lids on jars and screw rings on fingertip-tight — do not over-tighten.
- Process. Place jars in the canner on the rack. Cover with 1–2 inches of water and bring to a rolling boil. Once boiling, process pint jars for 20–30 minutes, adjusting time for altitude if necessary.
- Cool. Turn off heat, carefully remove jars, and set them on a towel or rack with space between jars. Let them cool undisturbed for 12–24 hours.
- Check seals. Press the center of each lid; a sealed lid will not flex or pop. Any unsealed jars should be refrigerated and used promptly.
- Label and store. Date your jars and store in a cool, dark place. Properly sealed jars can remain at their best for up to a year.
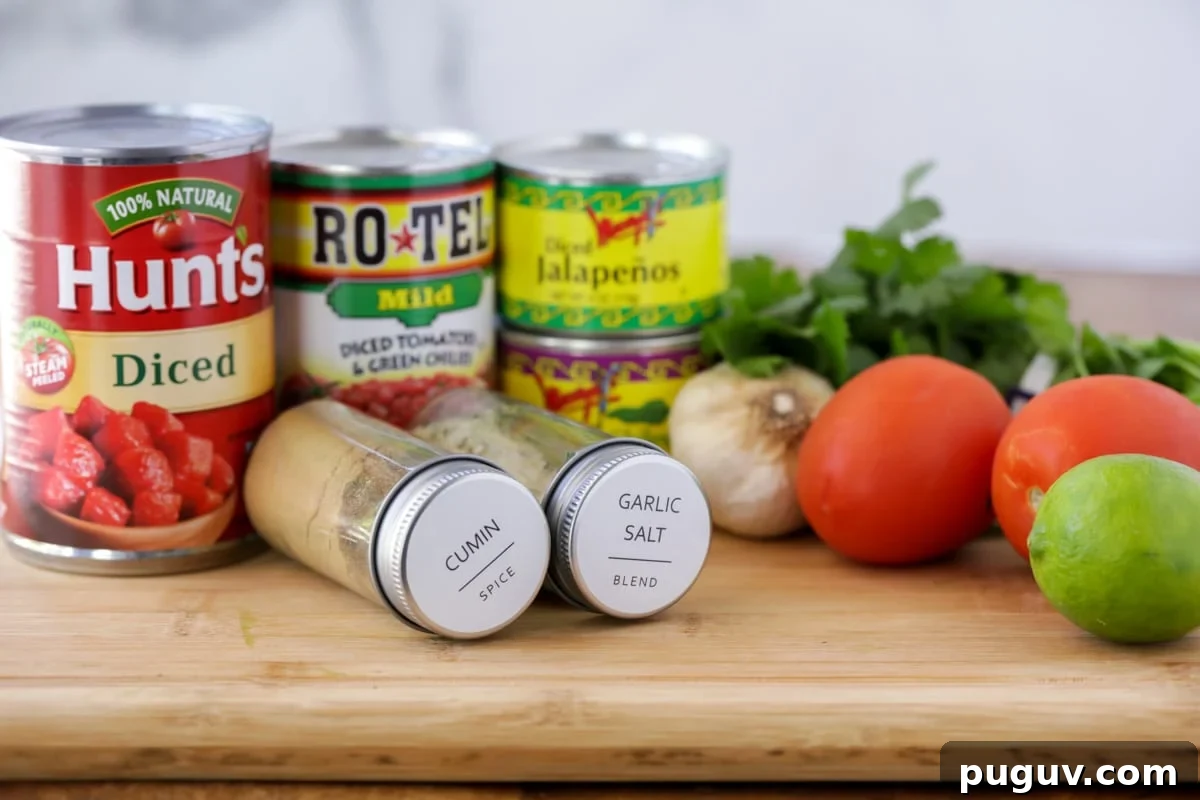
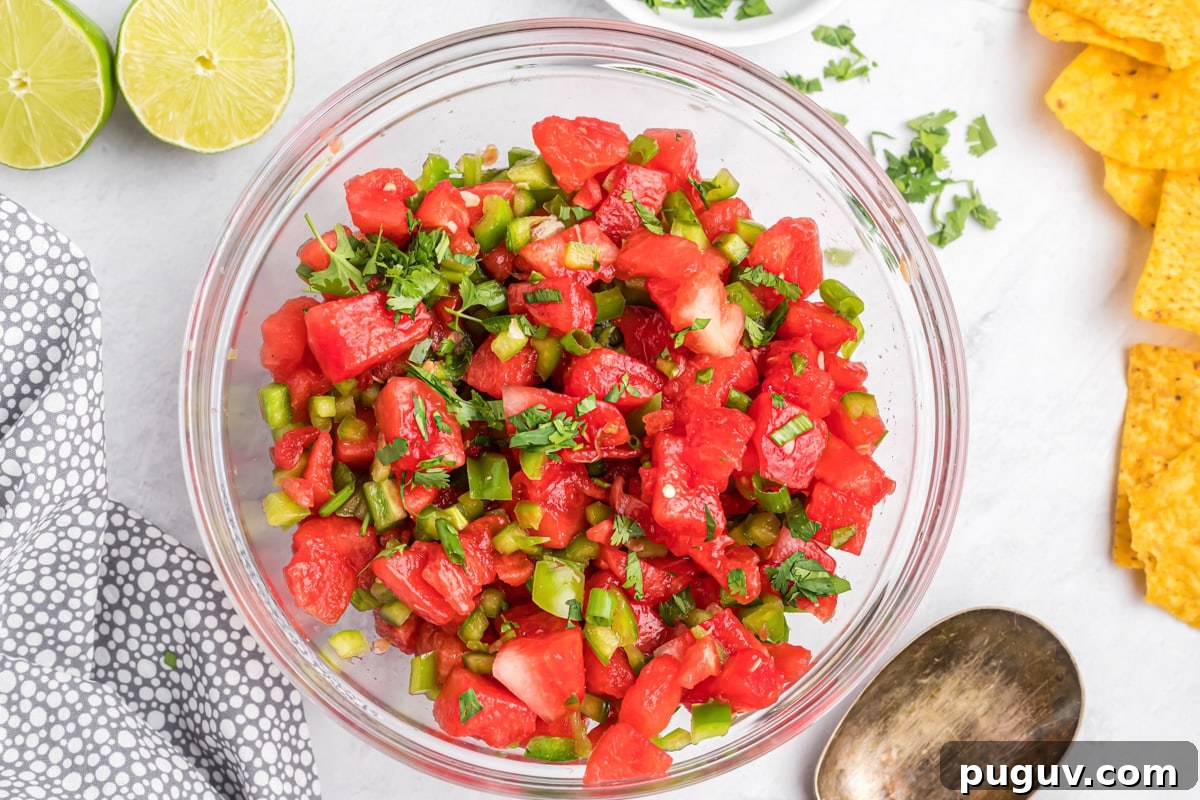
Method 2: Pressure Canning
Pressure canning
While most salsas are canned by water bath because of their acidity, pressure canning is an option if you use a recipe specifically developed for pressure canners. Pressure canning is generally used for low-acid foods, so only follow a tested pressure-canning salsa recipe and adhere to manufacturer instructions for your canner and adjustments for altitude.
Follow steps 1–9 from the water bath instructions (prepping and filling jars). The difference lies in processing:
- Prepare. Place a rack in the bottom of the pressure canner and add 2–3 inches of hot water.
- Arrange jars. Set jars on the rack so they don’t touch each other or the canner walls.
- Lock lid. Secure the canner lid per the manufacturer’s directions.
- Heat and vent. Heat on high until steam flows steadily, then vent for the time your recipe specifies (often about 10 minutes).
- Process. Close the vent, bring the canner to the required pressure for your recipe and altitude, and start timing. Typical processing for pint jars is often around 20–25 minutes but always follow the tested recipe.
- Cool. Turn off the heat and allow the canner to cool naturally until the pressure gauge reads zero; do not force it open.
- Remove jars. Lift jars out with a jar lifter and place them on a towel or rack to cool for 12–24 hours.
- Check seals. Press each lid center; a proper seal will not flex. Refrigerate any unsealed jars and use them within a few weeks.
- Label and store. Date and store sealed jars in a cool, dark place; they remain best for up to a year.
More Like This
Kitchen Tips
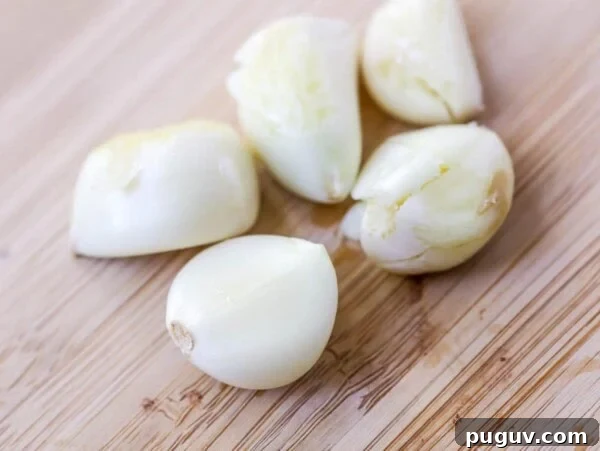
How to Mince Garlic
5 mins
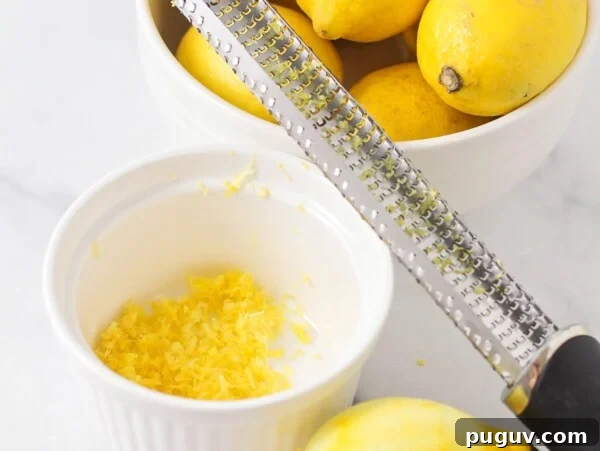
How to Zest a Lemon
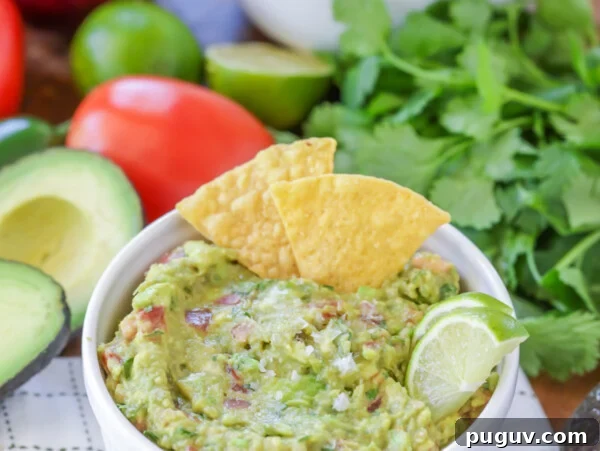
How to Make Guacamole
10 mins
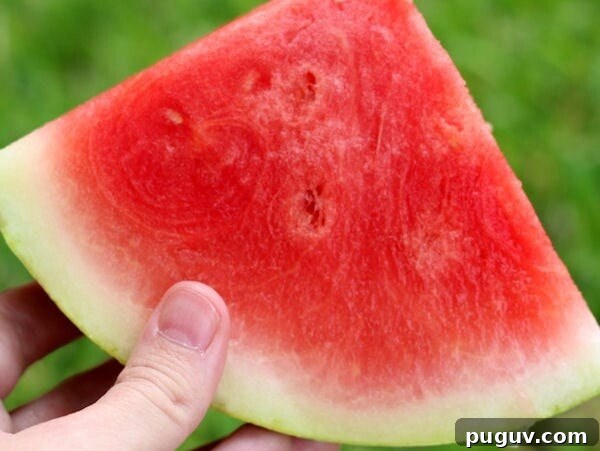
How to Pick A Good Watermelon
2 mins
Salsa Recipes
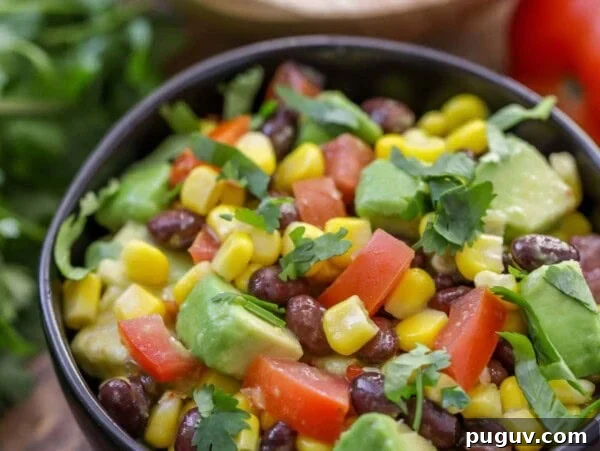
Black Bean Corn Salsa
10 mins
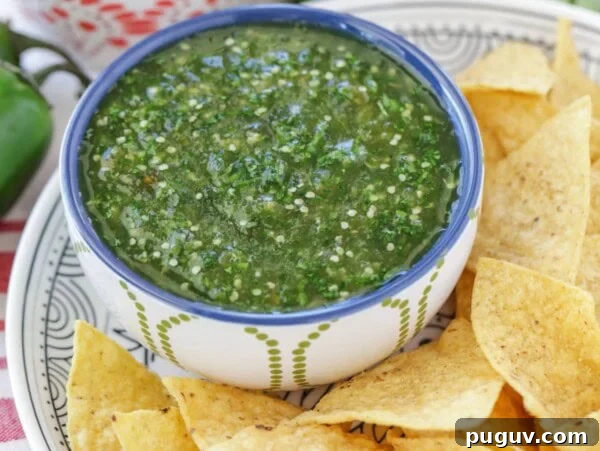
Sweet Salsa Verde
5 mins
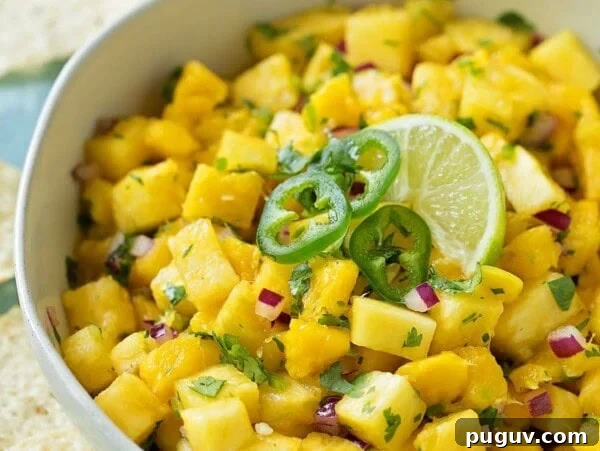
Mango Salsa
15 mins
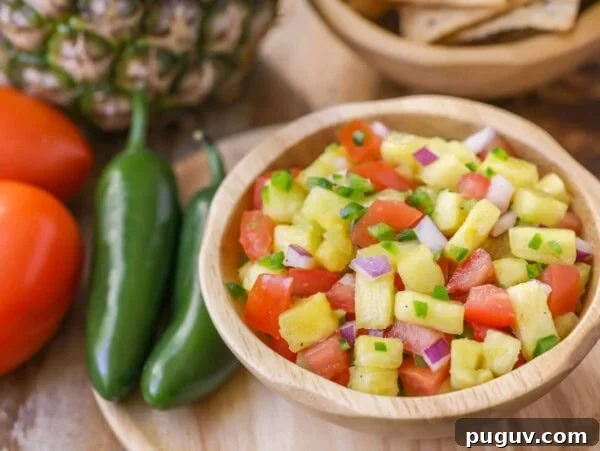
Pineapple Salsa
40 mins
Faqs
How Long Does Canned Salsa Last?
- When stored in a cool, dark place, properly sealed canned salsa can remain high quality for up to 12–18 months. For best flavor, use within a year.
Do You Have to Cook Salsa Before Canning?
- Cooking salsa before canning helps blend flavors and ensures even heating, which supports safe preservation. If you prefer uncooked salsa, make sure to adjust acidity with vinegar, lime, or lemon juice according to a tested recipe so it is safe for canning.
How Long Does Canned Salsa Last After Opening it?
- After opening, homemade canned salsa should be refrigerated and consumed within 5–7 days, since it lacks the preservatives used in many commercial salsas.