Here are two practical ways to measure flour. The true key to successful bread making, though, is checking the dough a few minutes after kneading begins.
Last updated on June 30, 2024 – Originally posted on February 4, 2017
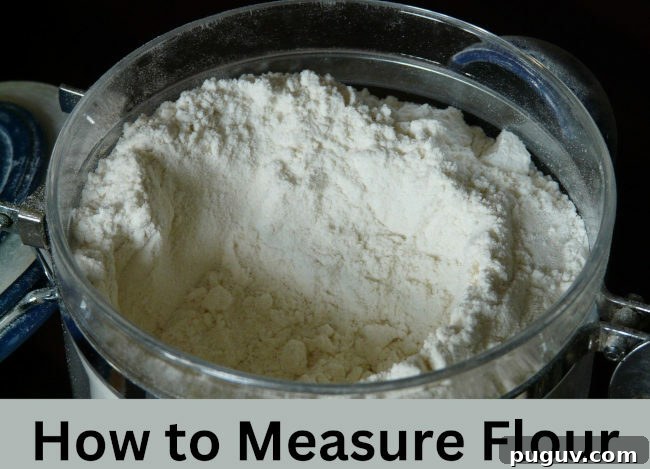
Wondering how to measure flour? Below are two common methods: weighing flour on a scale and measuring by volume using the scoop-and-sweep technique. Each approach has advantages and limits, and either can work well if used correctly.
Measuring Flour by Weight on a Scale
Using a kitchen scale is the most accurate way to measure flour, but it still requires attention. Different brands and types of flour can have slightly different densities, so the same volume might weigh differently from one flour to another. For that reason, weigh recipes where possible, and be prepared to make small adjustments as you work the dough.
When I list a weight for a type of flour, it represents an average. Your flour’s weight may vary depending on brand, how it was packed, and how long it has settled. Because of those variables, check the dough after five to ten minutes of kneading. Open the bread machine or mixer and inspect the dough: it should form a smooth, round ball.
If the dough looks too dry, add liquid a teaspoon at a time until it reaches the right consistency. If it looks too wet or sticky, add flour a tablespoon at a time until it firms up into a cohesive ball.
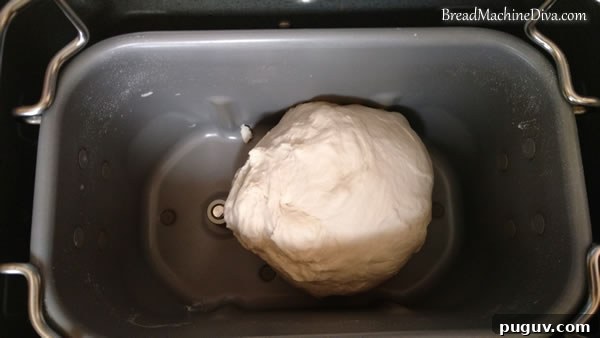
Here’s an example of what your dough should look like.
Scoop-and-Sweep Method: Measuring Flour by Volume
This is the method I most often use. It’s simple and reliable when done consistently. The goal is to avoid packing the flour into the measuring cup, which adds more flour than the recipe intends.
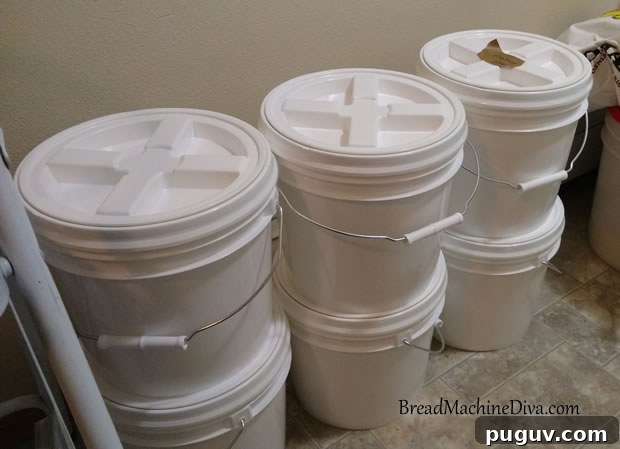
If you buy flour in bulk, transfer it from the bag into a large container to “fluff” it—this aerates and loosens the flour. I typically fluff twice: once when pouring from the bag into a storage bin and again when moving flour into a countertop canister.
If you don’t want to transfer flour between containers, you can fluff the flour in its original container with a spoon or fork, or place it in a bowl and stir gently to aerate. Flour settles over time, so if it’s been sitting a while, fluff it again before measuring.
Once the flour is aerated, spoon it into your measuring cup and sweep the top level with the back of a knife. This scoop-and-sweep technique prevents overpacking and keeps measurements consistent.
Skipping the fluffing step can lead to dense, short loaves because too much flour was added. That extra flour can also produce what some call a “hippo loaf”—a loaf with a rounded, bulging top rather than the expected shape.
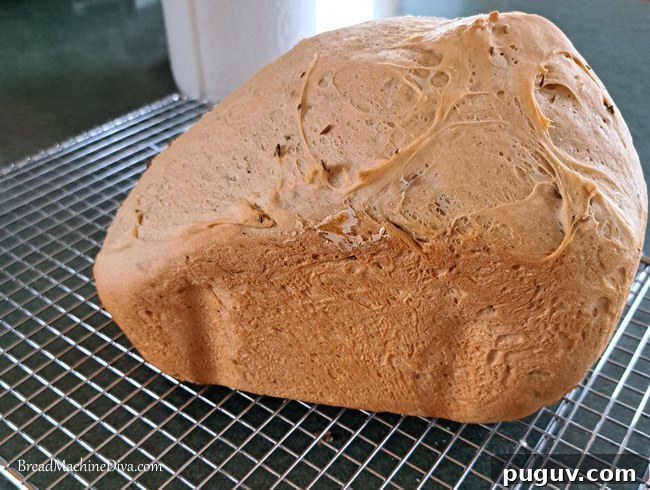
Note: a hippo loaf can also result when a small loaf is baked in an oversized pan or machine—for example, a one-pound recipe in a two-pound pan. The bread will still taste fine, but the shape will be distinctive.
Choose the Method That Works for You
There’s no single “right” way to measure flour—choose the method that feels easiest and most consistent for you. If precision is important, use a scale. If you prefer convenience, use the scoop-and-sweep technique, taking care to fluff the flour first.
Above all, check your dough a few minutes after kneading starts. That quick inspection allows you to correct hydration immediately and prevents most problems. Watch for dense, short loaves as a sign that you added too much flour, and make small, gradual adjustments rather than large corrections.